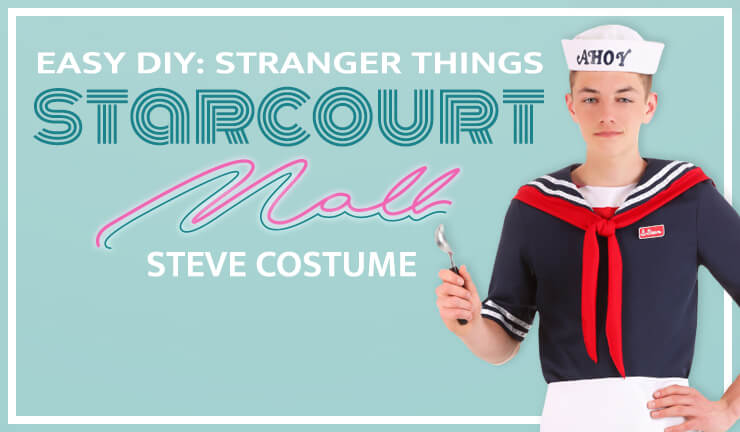
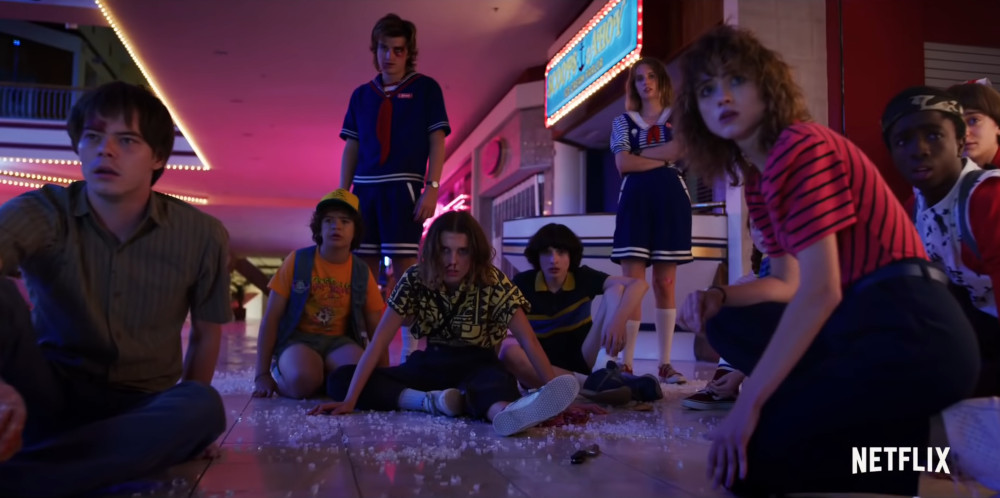
Today, Hawkins is taking another step into the future with the brand new Starcourt Mall. We got our first sneak peek into Netflix's Stranger Things season 3 with a clip of the new Starcourt Mall in Hawkins, Indiana. This look at the new series also gave us our first glimpse at sailor outfit Steve, and the new girl behind the ice cream counter. Since then, even more sneak peeks and trailers have dropped, and we're getting excited to see what season 3 has in store for our favorite characters! If you're looking for a fun new costume idea for Comic-Con or even Halloween, perhaps you'd like to DIY an easy sailor Steve costume. It's relatively simple to make, and we'll give you some special tips if you're interested in making a no-sew costume. To clarify, we did sew ours, but it's easy enough to pull off without a sewing machine too!
You'll Want to Gather These Materials Before You Start
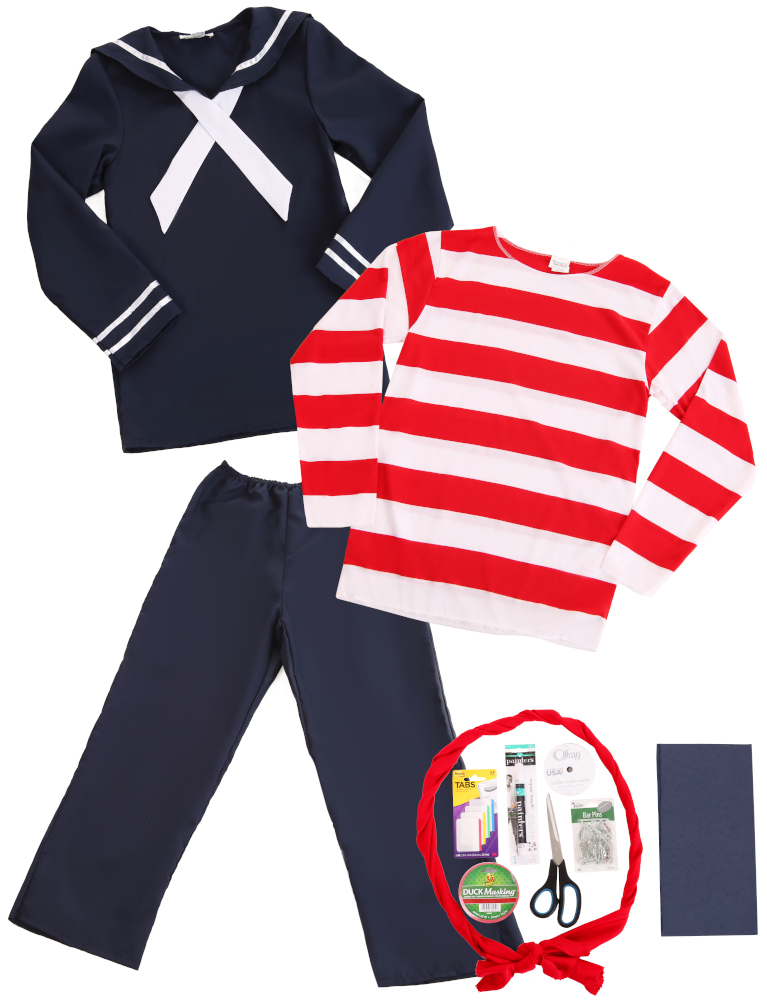
Main Supplies
- Navy Sailor Costume
- White Sailor Hat
- Waldo Costume Shirt
- Navy Iron-On Vinyl
- 1/4 Yard Red Fabric
- Post-It Tabs
- White Paint Marker
- Red Tape
- White Ribbon
- Bar Pins
- Scissors and/or Xacto Knife
- Navy, White and Red All-Purpose Thread (Not Pictured - Sewing Version Only)
For No-Sew (Not PIctured)
- Liquid Stitch Fabric Glue and/or Stitch Witchery Fusible Bonding Web
- Hem Tape
- Fray Check
You will need to gather the first set of supplies, although if you plan on going the no-sew route, you're going to want to swap the thread for Liquid Stitch Glue or Stitch Witchery, a fusible bonding web that sticks fabrics together when ironed. (We'll reference using the glue throughout the tutorial, but use the fusible web in place of the glue if you went that route.) You can also get hem tape and fray check, although hem tape is fairly similar to stitch witchery, so you may not necessarily need it. If you're unfamiliar with fabric, you can always talk to the craft store employees for recommendations when getting the red fabric. Let's get crafting!
We Used These Images as References for the DIY Costume
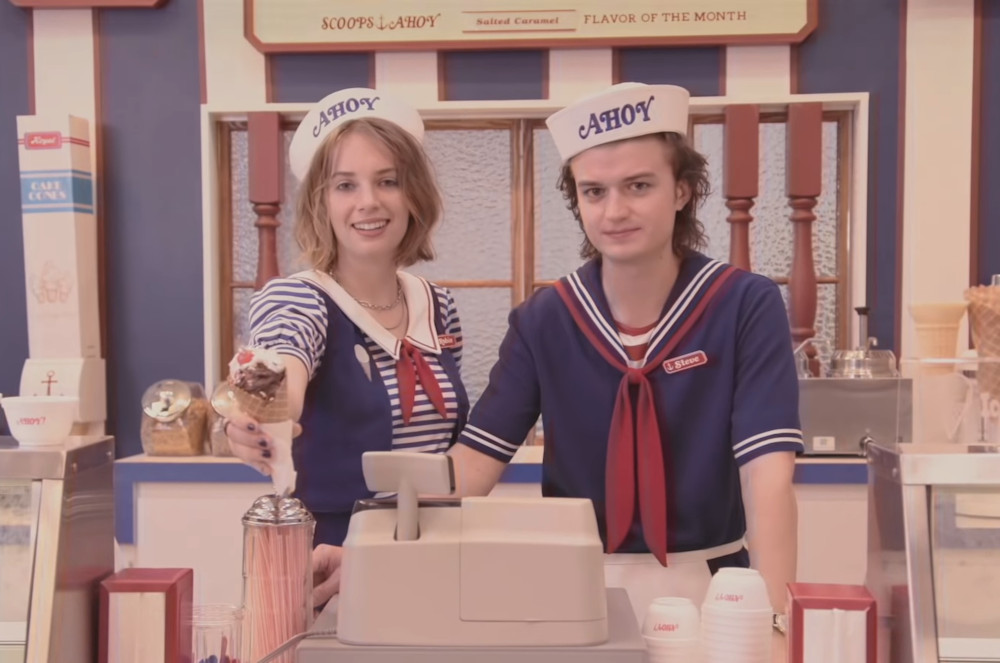
[Source: 21 Laps Entertainment/Netflix]
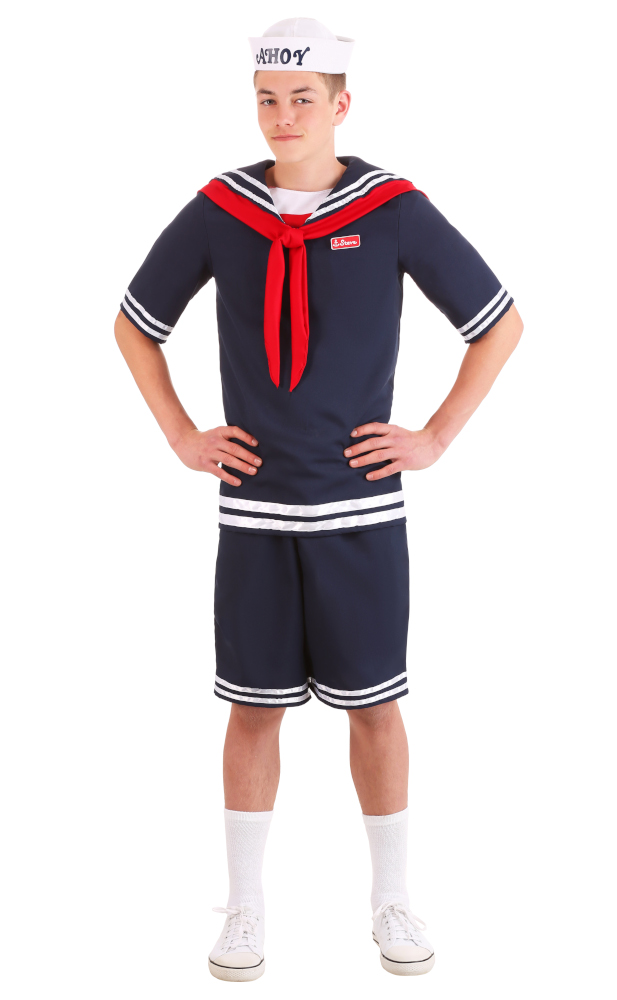
Steve Harrington works in a mall ice cream shop called "Scoops Ahoy".
[Source: 21 Laps Entertainment/Netflix]
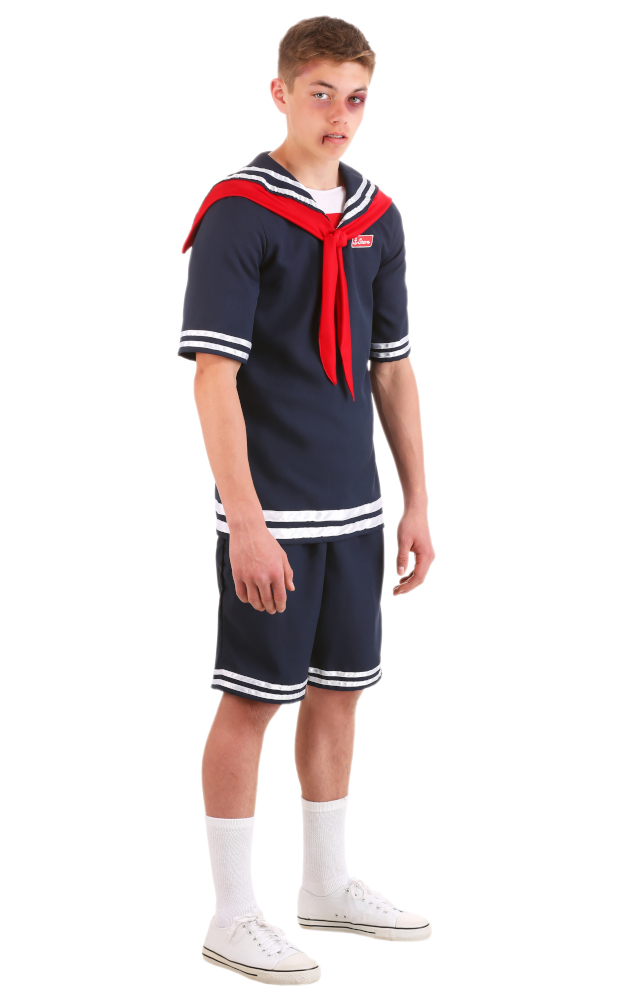
As you can see, Steve is wearing shorts and calf-length white socks. We might have to wait until season 3 comes out to see what shoes he's wearing with this outfit. Our guess would be Chuck Taylors.
Making the Shirt and Shorts
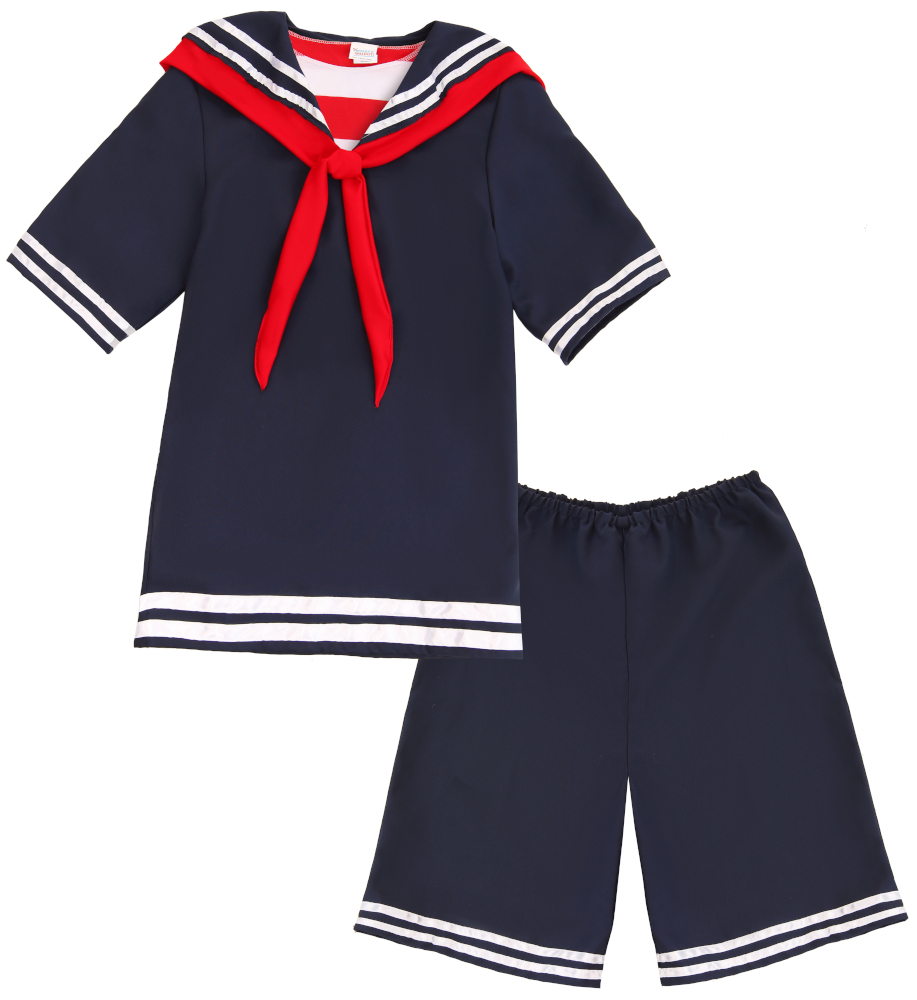
Step 1: As you might notice, the sailor suit outfit has long sleeves and pants, but Steve's Scoops Ahoy uniform has short sleeves and pants. Before you cut anything, put the pants and shirt on so that you can measure where you want to cut. (Make sure to give it almost an extra inch of fabric so that it won't be too short when you create the hem.) Mark the cut with a small snip at one of the side seams and take the pants off.
Step 2: After determining the length, cut off both sleeves and pants legs. If you're not sewing, squeeze fray check along the cut edges to keep the fabric from fraying.
Step 3: Hem the sleeves and shorts. If sewing, determine your seam allowance and flip that fabric inside the hem and sew. Should you be making a no-sew costume, use hem tape, liquid stitch glue or stitch witchery near the inside edge of the sleeves and shorts, and fold the fabric up, sticking it to the interior fabric to create a hem.
Step 4: Sew or use fabric glue with some thin white ribbon to create two stripes on the sleeves, shorts and shirt collar. You may notice that the costume already has one line of white ribbon around the collar, so find ribbon that matches closely. The shorts will now be completed, and you can move on to the rest of the shirt.
Step 5: Attach two additional wider white ribbons to the bottom of the shirt by sewing them, or by using fabric glue.
Step 6: Cut the white tie off of the collar of the shirt. (It doesn't have to be super-perfect. There will be red fabric covering it up.)
Step 7: Create the red necktie and collar. We attached two long strips of red fabric and then turned them into a fabric tube, which we then flipped inside-out to hide the seam on the edge. Iron the tube flat. The center seam holding the two strips of fabric together was placed at the middle of the back of the collar, and then attached all the way around, leaving enough for the ties hanging off of the front. (Make sure to fold your red trim at the corners so that it keeps the same corner shape as the corners of the navy sailor collar. Sew or glue the overlapping corner fabric to hold it in place.)
One corner of the tube at the end of each tie was then rolled inside and sewn down at an angle to make the pointed ends, which can also be secured with fabric glue for the no-sew version. You can choose to tie the loose ends into a nice knot. Or, you can do as we did and cross the ties with only half of a knot. Then, take a small strip of fabric and loop it around where the knot should be, securing the new knot fabric with glue or by sewing it. Flip the small strip of fabric inside-out and adjust the bow and fake knot so they lay as shown. You may also want to use some fabric glue on the inside of the fake knot to make sure everything stays in place.
Step 8: Use a Waldo costume shirt (or another red and white horizontal striped shirt) and chop the sleeves off if they show under your shirt. It doesn't need to be pretty as it's worn under the outer sailor shirt, so simply finish the raw edge off with fray check.
How to Make the Steve Hat and Name Badge
![]()
Step 1: The hat is super easy, so we'll start with that first. We located a picture of Scoops Ahoy Steve and pulled it into Microsoft Paint. (It's okay if you want to do this with a fancier art program, but basic paint works well enough for this.) Make sure that the "AHOY" text on his hat is about 2 1/2" - 3" when you print it. Cut out the chunk of text to make sure that it's a good size for the brim of the hat.
Step 2: Once the letters are sized to your liking, lay the paper letters over the sheet of iron-on vinyl and use scissors and an Xacto knife to cut out all of them. (Pay close attention to make sure that the wrong side of the letters is the side getting ironed on to the fabric, or else your letters are going to be backward, and you'll have to cut them out again!)
Step 3: Follow the directions and iron the letters to the brim of the hat. Remember that once they stick, they're not able to be removed, so be extra careful!
Step 4: The nametag is relatively easy to make as well. Take a section of tabs that are stuck together, and trim them to a nametag shape with your scissors.
Step 5: Unravel some red tape and stick it over the base of the nametag. Trim the excess off of the tag with some scissors.
Step 6: Use the white paint marker and draw a white border around the outside of the nametag. (If you accidentally make a mistake with the white marker, allow it to dry and draw over the error with a red permanent marker.)
Step 7: After the border has dried, use the white paint marker to draw an anchor and write "Steve" in a semi-scripted text similar to the letters on his hat.
Step 8: Allow the nametag to dry. Once dry, glue a bar pin to the back of the badge, and let that dry too.
Your Scoops Ahoy Steve Costume is Now Complete
Ahoy!
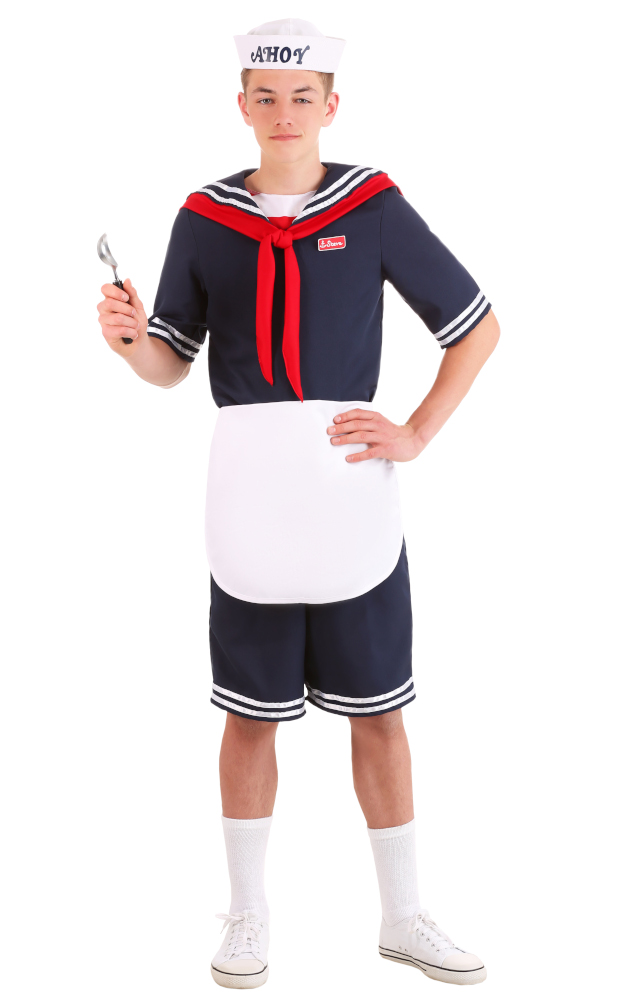
Add a white wait apron and an ice cream scoop if you're Steve behind the counter at his workplace.
Give yourself a black eye and some blood dripping from the corner of your mouth if you prefer his group shot look from the first trailer.
Ahoy! We hope you enjoyed this Steve Harrington Stranger Things costume tutorial. Whether you plan on being Steve at Comic-Con or Halloween, you'll look ready to serve up some scoops. (Or maybe you're more prepared to dish out some sweet moves on creatures from the Upside-Down!) Are you prepared for Stranger Things season 3? Who is your favorite Stranger Things character? Is there another Stranger Things DIY that you'd like to see us make? Feel free to share with us in the comments! And be sure to check out our other Stranger Things costumes.