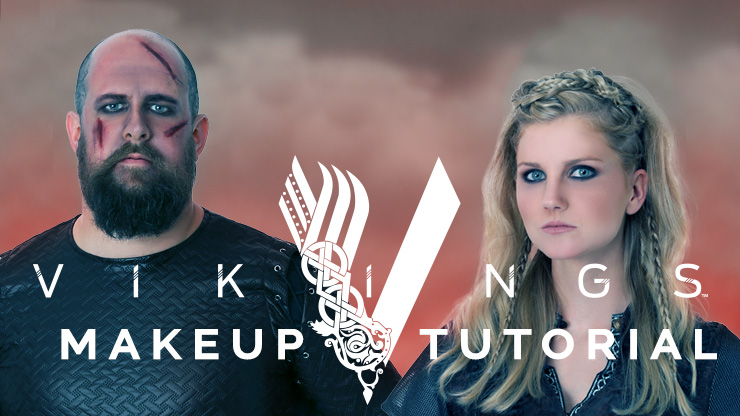
“I'm not going to stand here all day watching you try to be normal when you never will be.” These words were spoken by Ragnar Lothbrok, a Viking that was as ruthless as he was wise. Ragnar is the main protagonist of the hit television series Vikings. His wife and shield-maiden, Lagertha, is equally cunning and courageous, and we can’t wait to see more of her when season five continues this November! Are you ready to join their ranks? In anticipation for the rest of Vikings season five, we put together this DIY makeup tutorial to show you how to look like your favorite Viking heroes!
Viking costumes have always been popular looks for Halloween. In this Vikings makeup tutorial, our makeup artist is going to show you step-by-step instructions to achieve both Ragnar makeup and Lagertha makeup from History Channel’s Vikings. (There will even be some tattoo makeup advice on the Ragnar video to make a realistic temporary tattoo!) However, even if you aren’t specifically wearing a Ragnar costume or a Lagertha costume this Halloween, you can still apply this DIY makeup advice to Viking Halloween costumes for men and women.
Lagertha Makeup and Hair Tutorial Video
Pro Tip: You can never have enough makeup brushes!
Lagertha Makeup and Hair Tutorial Video Transcript
For this video, I used a contour pallet, a bronzer pallet and an eyeshadow pallet that was neutral. I used a variety of brushes for this makeup look. You will also need eyeliner, mascara and a nude lip color. For the hair of this look, I used bobby pins, a backcombing comb, clear rubber bands, clips, pomade product and hairspray product. Are you ready to join the Viking horde? Well, how about you become their queen! Use this step-by-step tutorial to style your hair and makeup just like Lagertha from History Channel's Vikings.
So, first we're going to start with contouring the cheeks and the highlighting areas on your face. I've already put my foundation on for the color that I normally wear. So, adding the bronzer and the contouring colors to really get the dramatic cheek look for this look. So, I'm adding the bronzer in the cheekbone area, and them you just blend that in. And now I have a blending brush that you can just blend that in, so that it's not a line.
I'm also placing some up by the temples [which] causes it to look as though the sun has hit your face. And, some depth into the contouring. And now, I'm going to use a lighter color to add the highlight to this. And, you do that in all the areas that the contouring the darker color is not. I'm going to go back with a darker color, and just go on either side of my nose. And then, back with a lighter color to blend that in.
Ok. Next, we're going to do the eyeliner. She has a very dark eyeliner. So, I'm taking eyeliner and going all the way from the inside of the eye all the way to the outside. And then, next, we'll do the eyeshadow. We're using some neutral colors with some darker colors for the under-eye eyeliner. I'm taking a darker brown to go right at my eyebrow bone, just to fill in for the shadow. I'm slowly getting to darker colors the closer to my lid that I go. And, any excess powder that drops down onto your cheeks you just want to brush off. Don't touch with your fingers, otherwise youo'll make it stick to your face.
I'm going to take a little bit of a skinnier brush and go under the eye for the really dramatic, dark eyeliner. Just do normal mascara, applied mascara. And, this look has a very nude lip color. So, we're just going to do a nude color for the lips as well.
First, you'll want to section the hair into different sections where you're going to be placing the braids. After you've done that, you'll want to do two cornrows on each side of the head, and braid those all the way down to the ends of the hair. And, again on the other side mirroring the first side.
Next, you'll braid the last section of hair, which is directly on the top, cornrowed into a side-braid, all the way down to the end of the hair. You'll want to loosen that section of braid so that it has a little added volume on the top of the head. Then, you'll want to take bobby pins and pin that section up onto the head so that all of the braid is in an "s" shape.
Next, you'll want to take the two sections and weave them throughout the top braid. Once the two side braids are weaved into the top braid, you can start with the hair. You'll want to curl the hair and backcomb to add volume. After curling the hair, I did backcomb all the way to the ends of the hair to make this look a little more messy.
Once that is complete, you'll want to spray to finish, making sure that the two braids in the back are visible behind the ears.
Lagertha Costume and Accessories
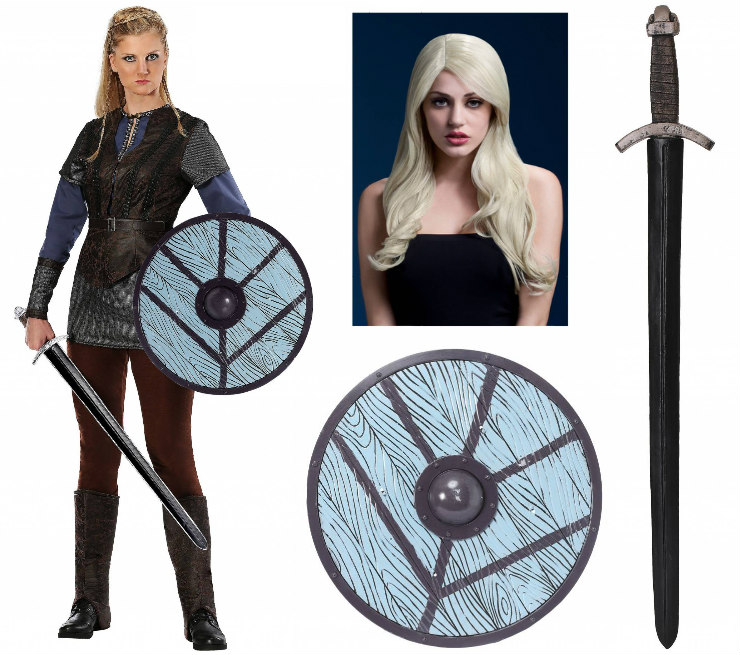
In order to complete the look, pair a Lagertha costume with her blue Viking shield and her sword. You may also want to invest in a heat-resistant, styleable wig if you want her blonde hair without necessarily bleaching your natural locks. Wear your own low-heeled black boots to complete the look. Let’s be realistic: Shieldmaiden Lagertha is one tough, independant woman and she’s not about to run into battle in stilettos or black go-go boots! Get ready to look Instagram fierce.
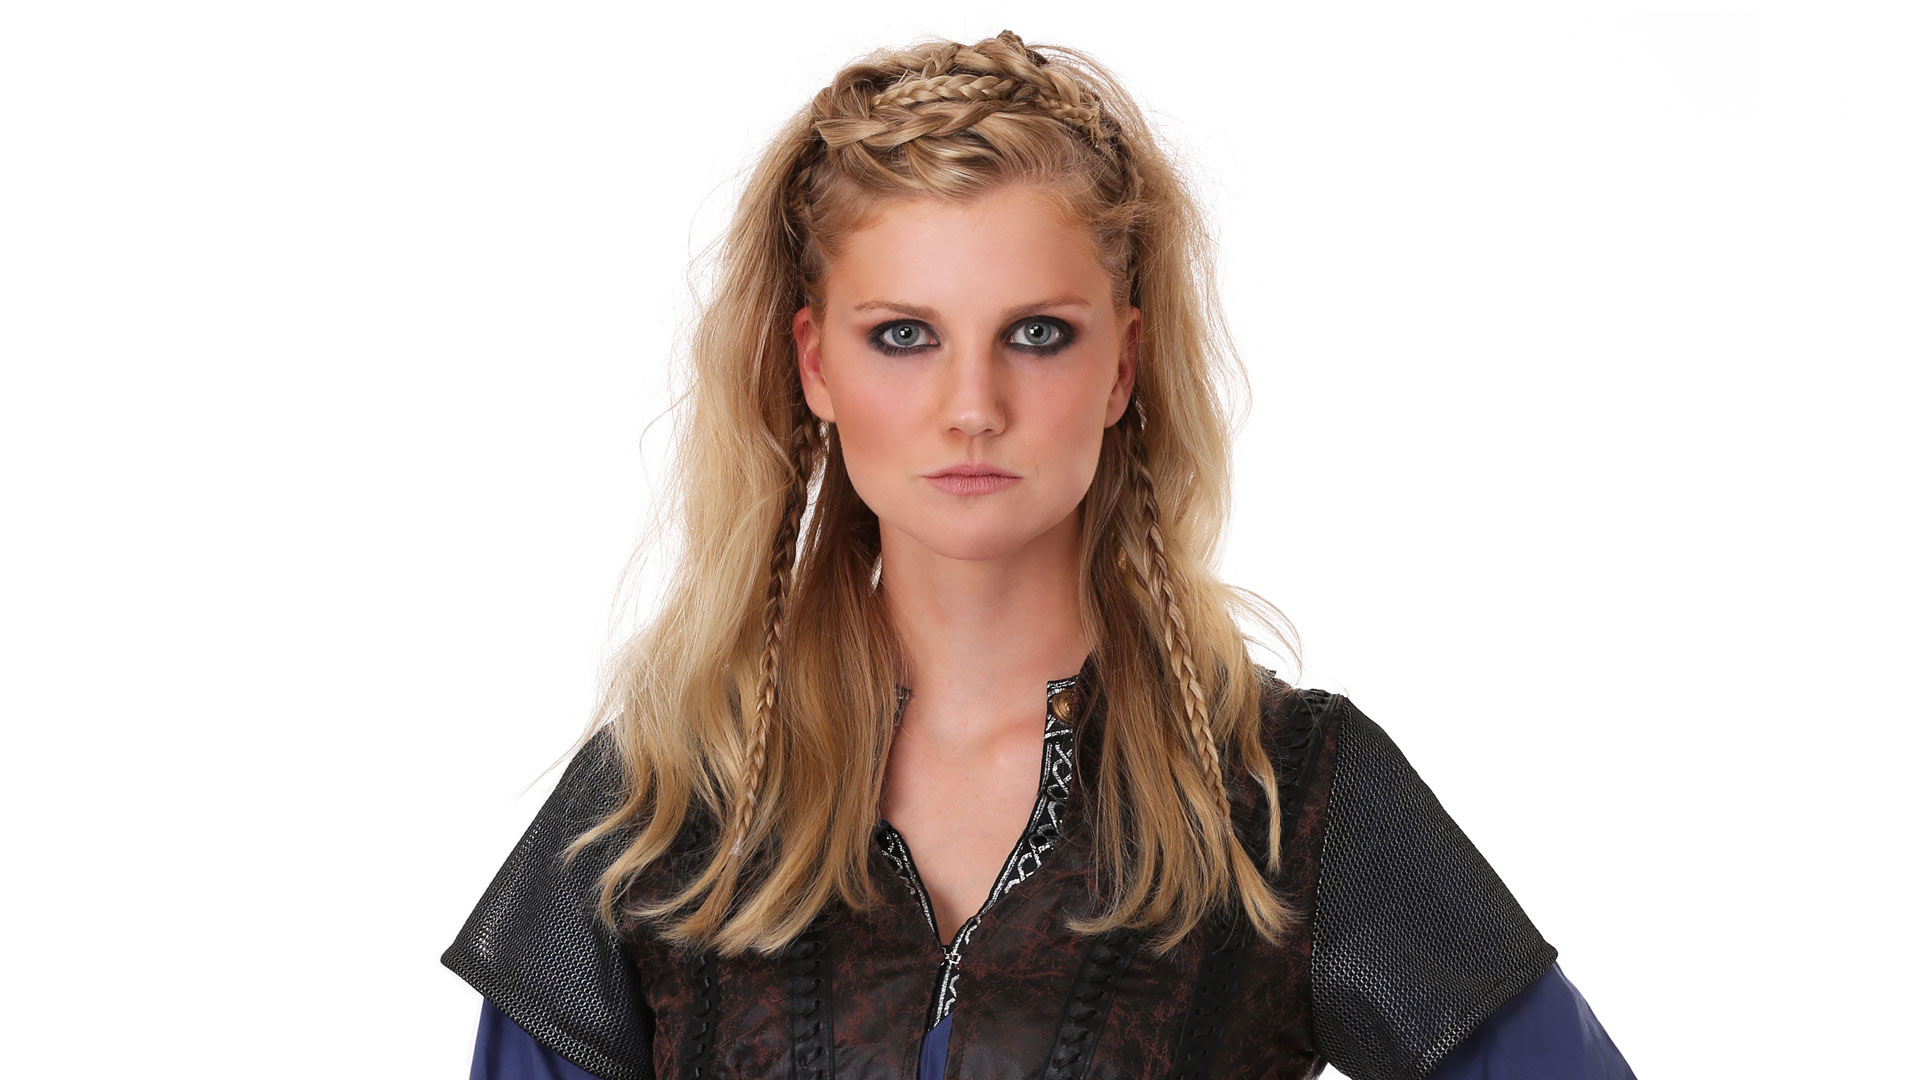
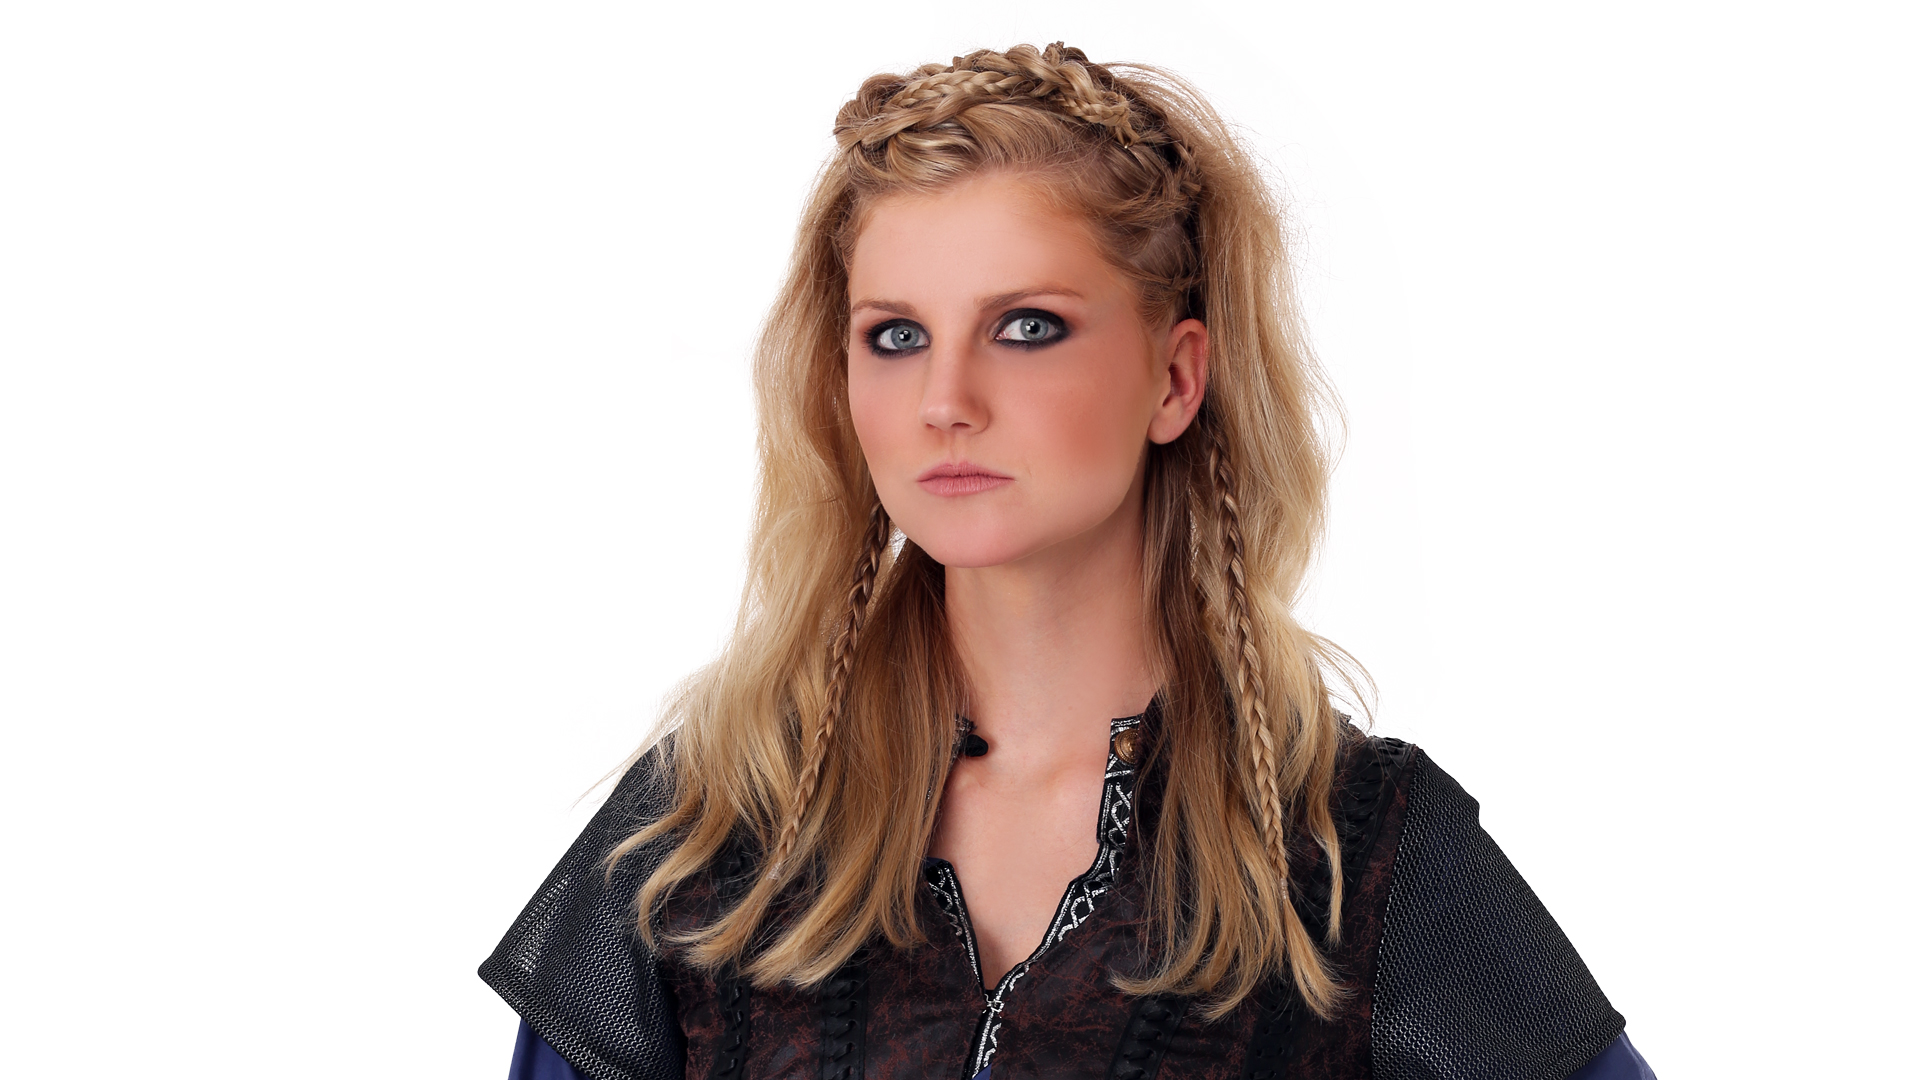
Lagertha's Completed Look
"A true queen does not need a king."
"I never forget anything."
Ragnar Makeup Tutorial Video
Pro Tip: Have your costume on when doing your makeup so that you don't smear it while you're trying to put on your shirt! Just remember to cover it up so you don't get makeup on it.
Ragnar Makeup Tutorial Video Transcription
So, you're looking to join the ranks of the world's most notorious Vikings, eh? Well, forget sailing and pillaging for decades because our step-by-step makeup tutorial will take you from ordinary to infamous Viking warrior in no time. So, let's get started!
Here are some of the tools that I used for the Ragnar makeup. So, you'll want a variety of different blending brushes, (some different sizes), and I used, I have a black eyeliner and a brown eyeliner. And then I have some liquid eyelash and eyebrow adhesive for the scarring, or you can use glue. Or, if you do have liquid latex on hand, you can use that as well. A couple different triangle sponges, a mascara wand and a liquid eyeliner pen to draw the tattoos on. Then, I have a little color wheel here that I used the black and the brown and the maroon cream colors, and I also have the bright red color cream, and I have a powder red, and a powder brown. You can use eyeshadow colors or you know, vice versa whatever you need to grab that will be more of a powdery texture, and then I also have just some foundation to smudge over the top of the tattoo. So, this is just the skin color. I kind of prefer the same color skin tone as your model. And then, I went ahead and I did a setting spray afterward just to set the face.
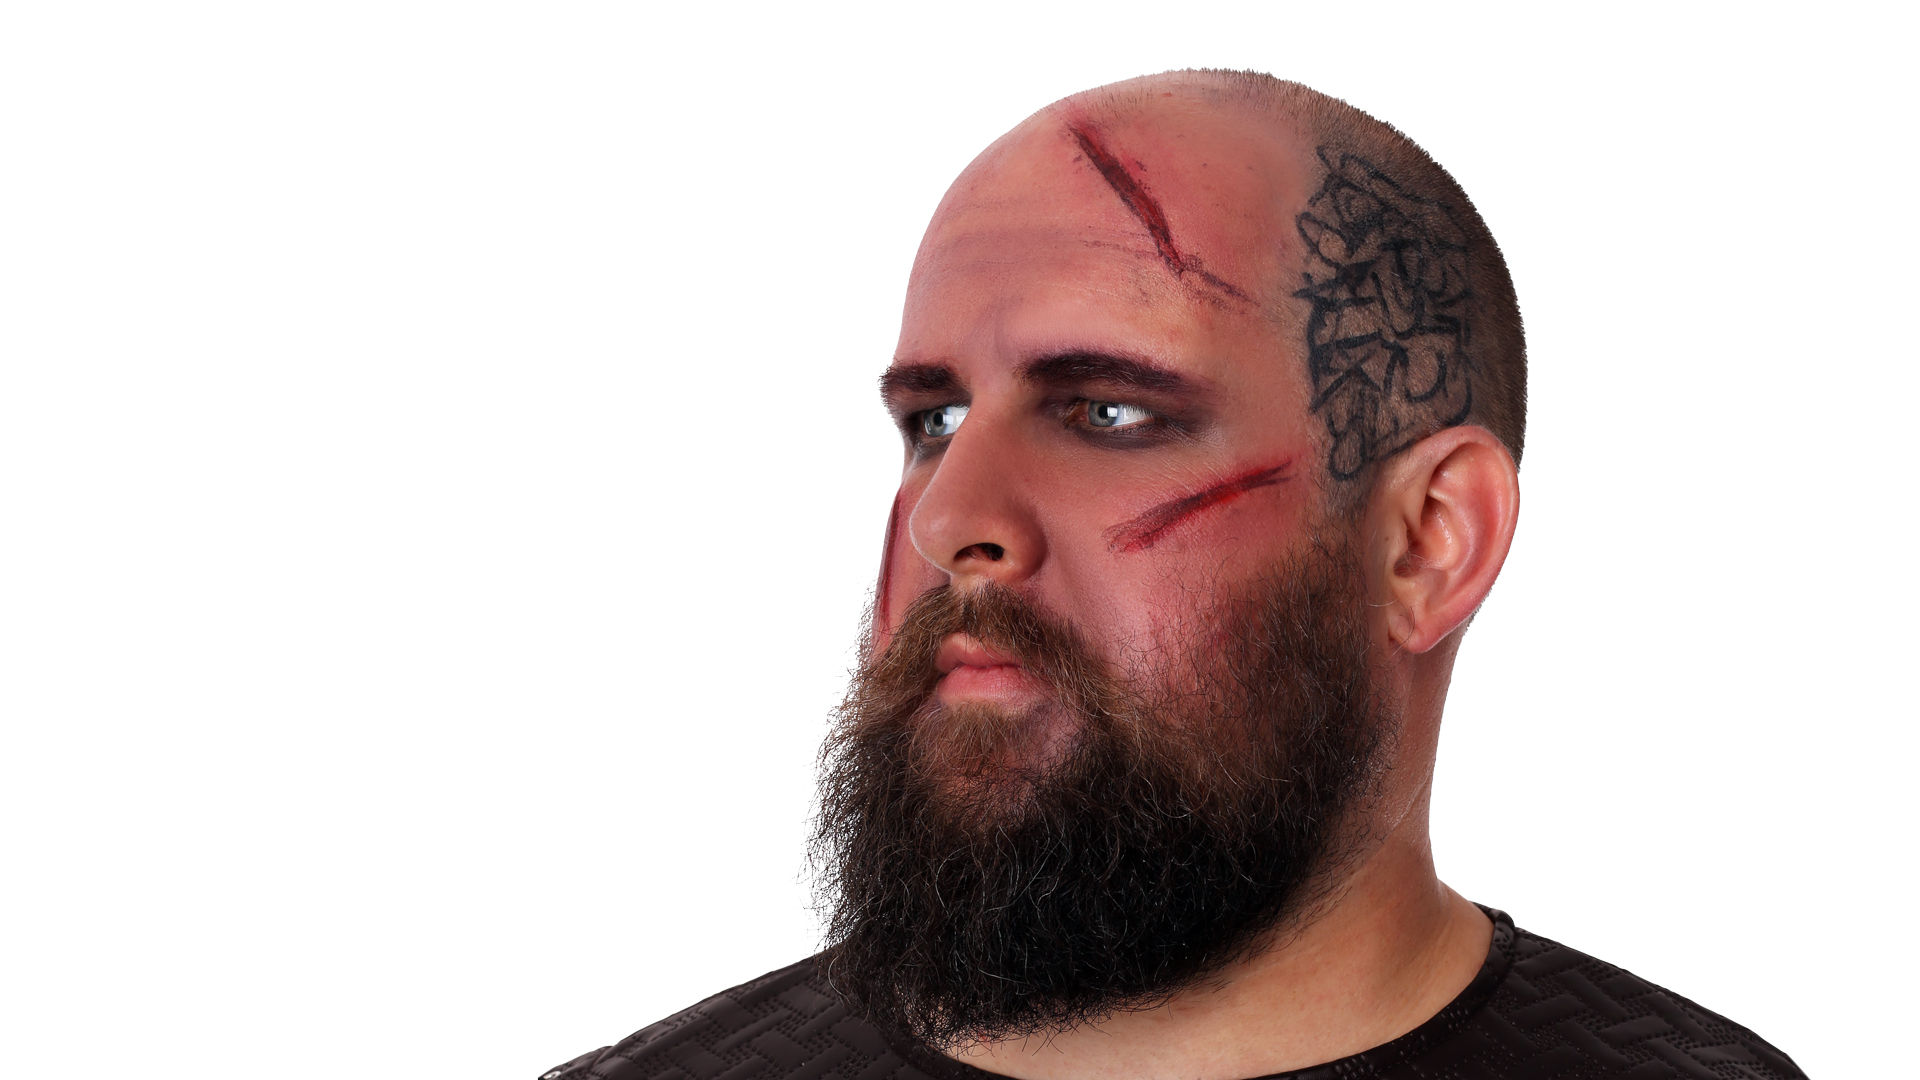
I'm just going to be using a liquid eeyliner pen, and I'm just going to kind of draw my own designs. So, I basically just made different designs, just going pretty fast to make some sort of a tattoo design, and then I will go trough, and I'm going to shade a little bit over the top of it, so it will look a little bit more worn after it dries.
Next, I am going to darken up his eyes a little bit. I'm going to put some eye primer on his eyes, for this to spread a little bit easier, so it's not so rough. Now I'm just going to take a little blending brush here, and stick a tiny bit of black on it, and I'm just going to go through and blend in that line.
What I'm going to do is put a little bit of scarring on him. And, in order to do that, you have to ask the person first if they have any sensitivities to latex, or anything like that, because a lot of people do. I'm going to go ahead and I'm just going to use an eyelash adhesive, and I'm just going to draw some scarring on. So, as that is kind of setting, it helps to take a blow dryer on a low setting on a cool, low heat, otherwise just let it air dry.
I'm just going to take my finger, and I'm going to just kind of smudge in some areas that I feel need to be a little bit dirtier. I like to start out by just getting some areas with my finger, and then I'll be taking a brush and an applicator to make it more realistic. You can switch off between the brown and the back, just to kind of give it a more realistic look. And then, I'm going to take a little bit of brown, and do some shadowing.
Then, I'm going to take a little bit of red, and just kind of dab a little bit around these scars just to give them a little more of a bloody look, like they were fresh, and blend those out. And then, I'm going to add a little bit of some dark brown to a mascara wand, maybe a little bit of black too, here. I'm going to take the mascara wand, and I'm going to kind of do the same type of thing over a couple of his scars to look like they're kind of new, a new wound. It kind of creates like a stippled, more realistic look.
And, I'm going to paint some red onto some of his scars over here. It's kind of nice to have a couple different color reds, because I'm just going to use a little bit more of a deeper red as well, just to blend and make it look a little bit more realistic. And if you kind of just blot it, so it doesn't look so wet looking, and so that it doesn't smudge. And then, if you need to blend by adding some dark brown or black in the middle, you can too.
Take just some of his skin tone, and I'm going to lightly go over his tattoo, to have it look more blended, a little bit more worn. An old tattoo, not a brand new tattoo. And then, add some smokiness in the beard too. Just going to add a little shadowing in the beard.
So, this is my quick version of Ragnar from Vikings, and just to use a couple different techniques that you can try at home, and something fast and easy, and totally do-able.
Ragnar Costume and Accessories

To look like Ragnar Lodbrok, you will need to have a Ragnar costume and pair it with his red Viking shield and a Viking axe. (There are enough shield and axe styles that it matters if it’s not in the Viking style!) You’re set if you are free from the burden of hair or if you have your sides shaved. If you’re not interested in shaving your head so you can have Ragnar’s perfectly smooth, shaved head, invest in a bald cap and some makeup to hide the fact that you’re wearing one. We suggest the Mehron bald cap kit because it contains everything you need, but feel free to get a single bald cap and invade your girlfriend’s makeup stash. (Make sure it’s with her permission, of course!)
Ragnar's Completed Look
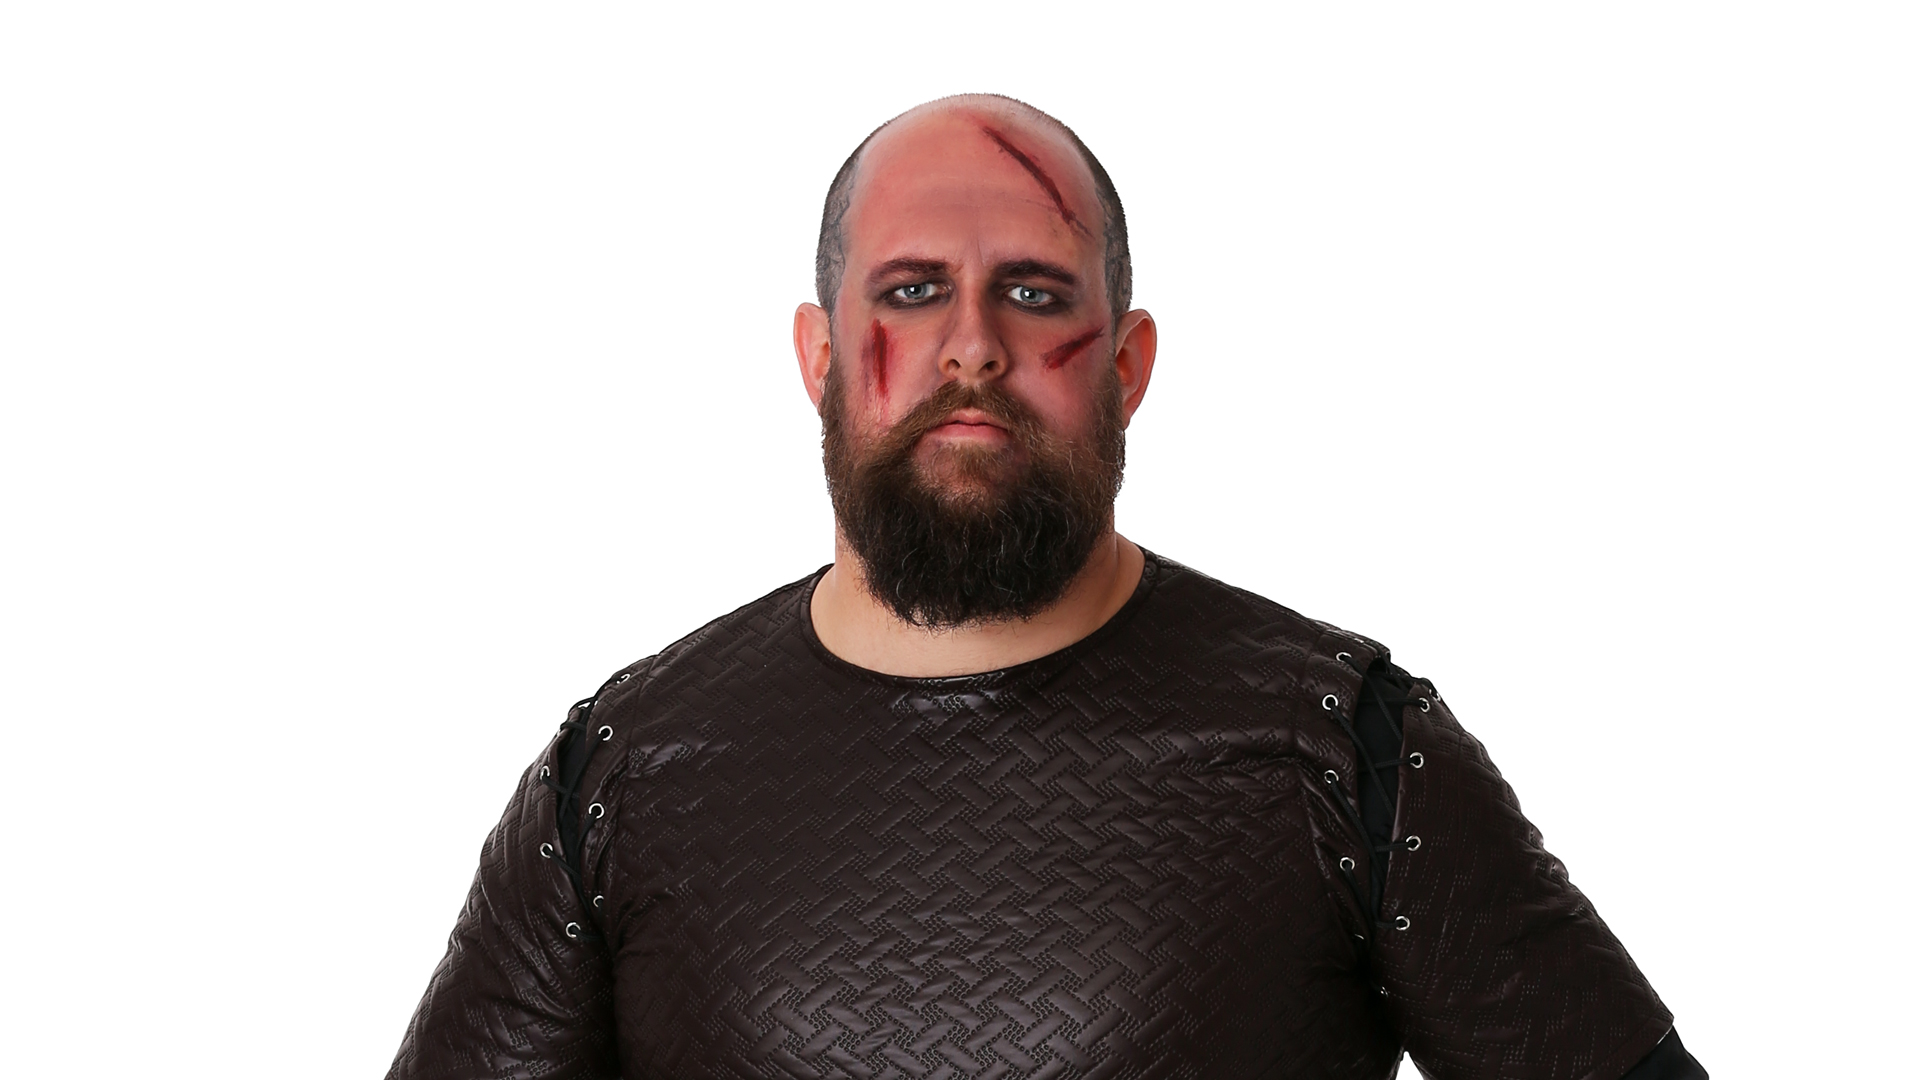
"Don't waste your time looking back. You're not going that way."
"The world is changing and we must change with it."
Do you feel ready to take on Northumbria? You can even gather your own band of Viking warriors with some other Viking costumes and accessories for the family. (Extra props to you if you add other historical figures into the group!) Everyone will be jealous of your epic Viking group costume! We hope you enjoyed this Viking Halloween makeup tutorial. Feel free to share your Vikings hair and makeup looks in the comments below! Happy raiding!